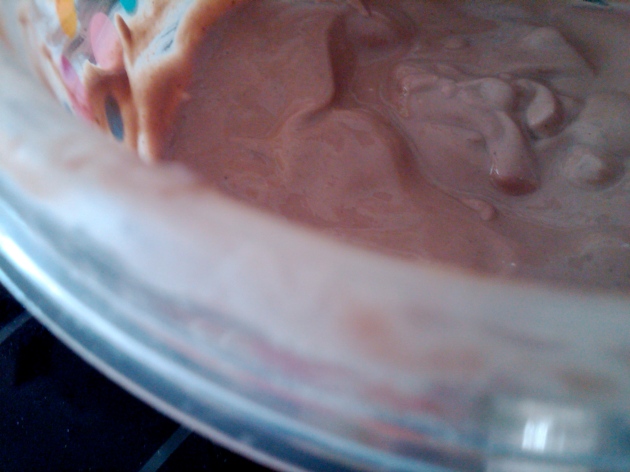
Remnants of my morning yogurt binge
To me, a world without yogurt is a woeful world, unimaginably grim and full of longing. If being vegan meant I could never eat yogurt again, I don’t think I would even be able to consider the possibility. Eggs I can easily live without and, milk, I don’t drink very much of, but little 6 oz. cartons of diet yogurt consume most of my food stamps. And that’s not even counting the soft-serve.
Given the nutritional stats of store-bought soy yogurts, this horrible nightmare could have easily become a reality. But I am lucky to have grown up in a house where making yogurt was not only common, but also free of expensive hardware (I’m still not quite sure what a “yogurt maker” is, but, either way, you don’t need one).
Yogurt is among the foods most people file under “impossibly hard to make/never going to attempt”. I can’t imagine why, though, seeing as how it’s probably one of the simplest things you can make. Admittedly, there is a lot of luck involved: I’ve been making yogurt since high school and I still have occasions where it doesn’t set.
A few factors are critical to yogurt making: cleanliness, temperature and cleanliness.
Really, I can’t stress it enough: the yogurt will not set if anything that touches either the soymilk or the yogurt starter is even the slightest bit dirty. And I don’t mean “crusted” dirty–I mean “microscopic bacteria” dirty. You don’t want any other bacteria to prevent yours from thriving, now do you? (By “yours,” I mean the bacteria we associate with yogurt). Safest bet it to sterilize everything in boiling water, but, for the lazy among us *waves*, a good washing and a little caution will do.
As for the temperature, you will hear different things. My mother always said that the milk should be on the edge of hot and warm, but nowhere near boiling. It seems to work well enough for me. If you have a thermometer, I believe the official guidelines state 118*F, but, if you don’t, air on the side of “warm” since too hot kills while too cold only slows.

Chocolate!
For my yogurt, I chose to use chocolate Soy Slender because last week (when I made this) was National Chocolate Week and Soy Slender was cheapest at Meijer. I’ve done this with other soymilks before (back when they used to carry my favorite brand) and it’s worked out just the same. Keep in mind, homemade yogurt (soy or otherwise) will never be as thick as store bought yogurt unless you add some kind of thickener to the milk after culturing. Want to know why? Pick up any yogurt container, read the ingredients, and you’ll find out.
Mostly Fool-Proof Soy (or Dairy) Yogurt
- CLEAN bowl with lid (metal is best, followed by glass and finally plastic)
- CLEAN whisk, spoon, fork, knife, whatever (just don’t use your finger)
- A good-size spoonful yogurt (buy a small container of soy yogurt or regular yogurt labeled with the “active culture” symbol/disclaimer and take a spoon out…if you want to keep it vegan but don’t want the sugar and fat, have someone else eat it :D)
- Milk/soymilk (any flavor/fat content)
→Heat the soymilk (milk) to 118*F or till it’s “warm” (118*F is hotter than warm but, if you read the essay-length reasoning above, you’ll see why this is better).
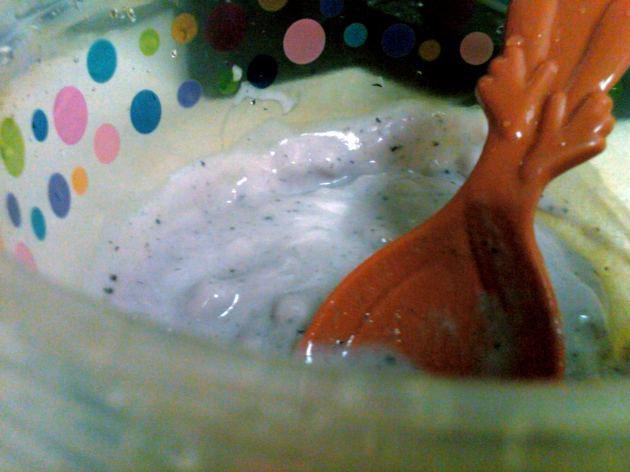
A Spoonful of Blackberry Yogurt
Put the yogurt in the bowl and whisk well. Slowly add the soymilk (milk), whisking continuously so as to evenly incorporate the yogurt (yogurt chunks = bad).
Cover the bowl and incubate. (This is hard for impatient people like me, but don’t check/move the bowl around for at least 4-7 hours depending on your temperatures. JUST LET IT BE!)
There are a few methods of incubation. You want the temperature to be around 100*F (+/- 20*). If you live in a warm climate where the temperature of the room is 80+, all you have to do is leave the yogurt sitting on the counter (not in direct sunlight).
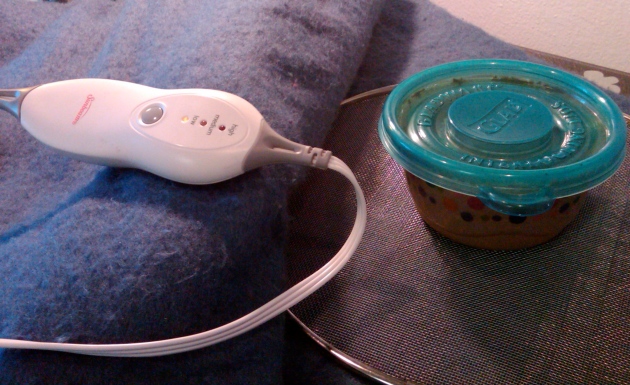
Improv Blanket Incubator
To artificially achieve the same effect, place the bowl in the back of the oven with the light on (DO NOT TURN THE OVEN ON) and close the door. Or place it in the microwave with the light on (once again, DO NOT TURN THE MICROWAVE ON). I don’t like the idea of not being able to use my microwave/oven for a long period of time, so I wrapped the container in my heating blanket and left it on at low power. Seemed to do the trick.
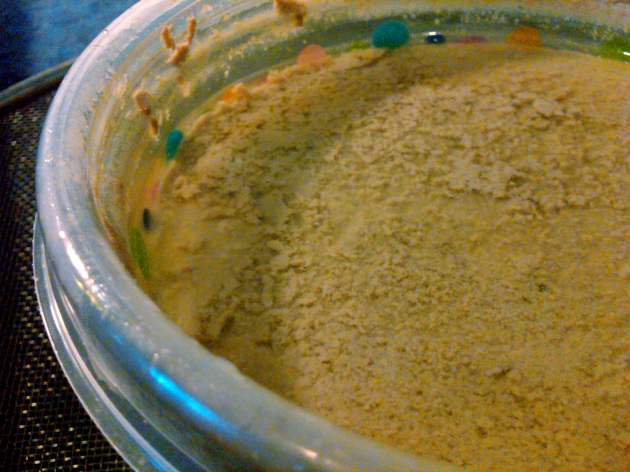
Not the most appetizing sight. Straining wasn't optional this time.
After about 8 hours, you can check to see if the yogurt is done. The longer you leave it, the thicker and more sour it will become. I stopped culturing at about 6 hours because I didn’t want it too sour (it’s chocolate!). You can let it culture for up to 12-14 hours, depending on how you like it.
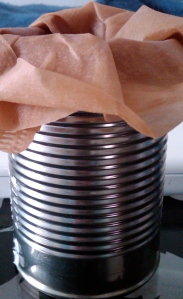

Who needs cheesecloth?
To make thicker yogurt, strain it after you’re done culturing. A cheesecloth with a weight over it would be ideal, but I didn’t have one so I put a few coffee filters over a metal can and let gravity do it’s job. Takes longer, but good things come to those who wait, right?


my grandpa used to culture this stuff called feeli. It has a REALLY weird texture. Not sure how its spelled, but I think its a “finnish” taste
Feeli? Haha, that’s such a cute word! It doesn’t taste exactly like real yogurt, but, if you get the plain unsweetened soymilk (make sure there’s no sugar/sugar substitutes in it), culture it and and a drizzle of lemon juice right before serving it, it tastes exactly like greek yogurt.